I'm just dying to share with you how the Laundry/Toilet Renovation is coming along and have been posting snippets on my Facebook and Instagram but don't want my blog readers to miss out so here is a progress post now that we are up to the painting stage - this is the exciting part where we transform our boring beige laundry into something modern and inviting.
There's still a lot of work to do - we need to finish painting the toilet/powder room, hang 5 new doors and new handles and paint the doors, wallpaper a wall, find and install new lights and power, install shelving in the large built in cupboard, find art and accessories and then we'll be done and you'll get a big juice before and after post!
But for now here is our progress since the tiles and splash back were laid and then we got busy prepping the room ready for painting.
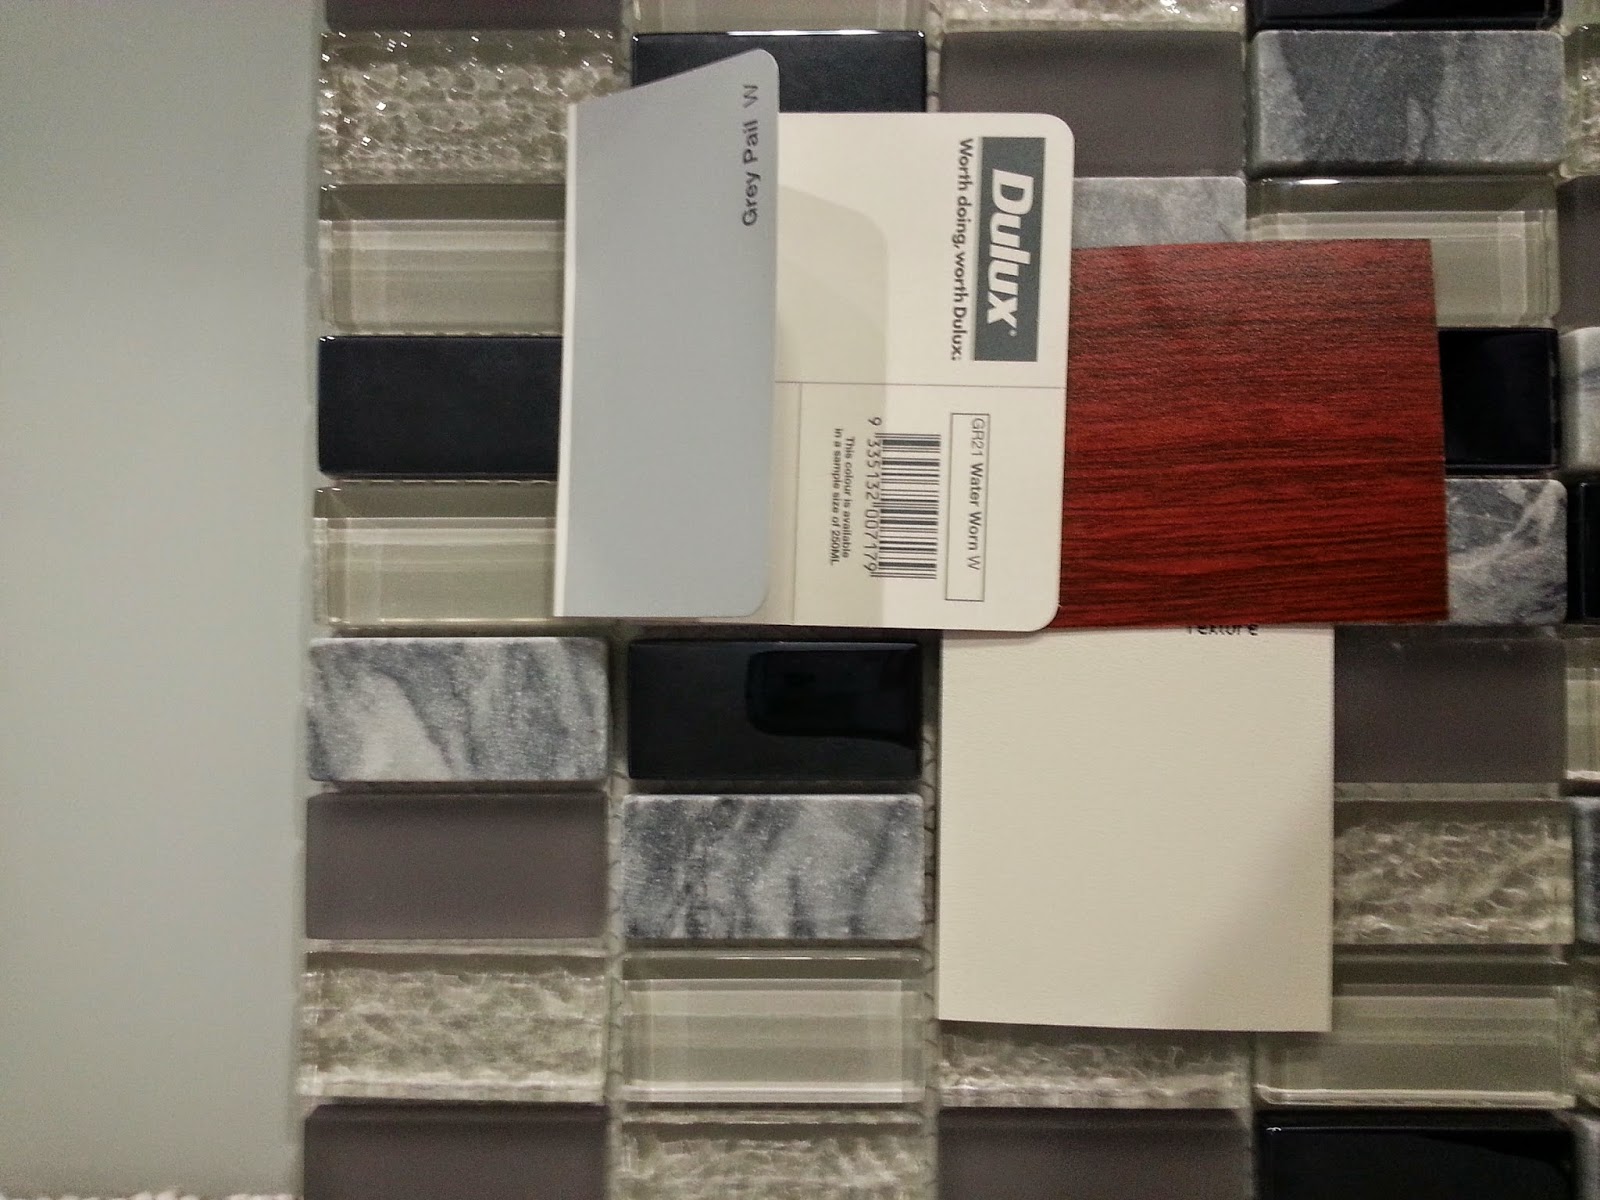 |
| Laundry colours - mood board |
Let's talk paint colours - For the laundry room I wanted a modern grey that was light and bright but has some depth. Now for the tricky part finding the perfect shade of grey .... I went back to the Dulux colour booklets I used as inspiration for the exterior paint project last time and turned to the interior colours with a grey colour scheme.
I also grabbed a bunch of colour chips from my local Bunnings and stuck them on the wall so I could work out what shade of grey would look good in the room at different times of the day and night.
 |
| Dulux - Grey Pail |
Dulux, Grey Pail was the winner for me - It's one of the lighter greys and has a clear bright finish without a blue/green/purple base that you get with a lot of greys.
Now thanks to Dulux for supplying the paint for this project, all I had to do was collect the supplies and take them home to get stuck into some painting!
Now thanks to Dulux for supplying the paint for this project, all I had to do was collect the supplies and take them home to get stuck into some painting!
Of course before we could get slap happy on the walls we had to make sure that everything was properly prepped and all the walls and ceiling were plastered, sanded and washed.
It is so important to prepare your walls first or you'll be wasting all your time and effort because the paint won't look as good, it won't last and will most likely peel off.
It is so important to prepare your walls first or you'll be wasting all your time and effort because the paint won't look as good, it won't last and will most likely peel off.
 |
| Every Roller Queen needs a bit of decoration! |
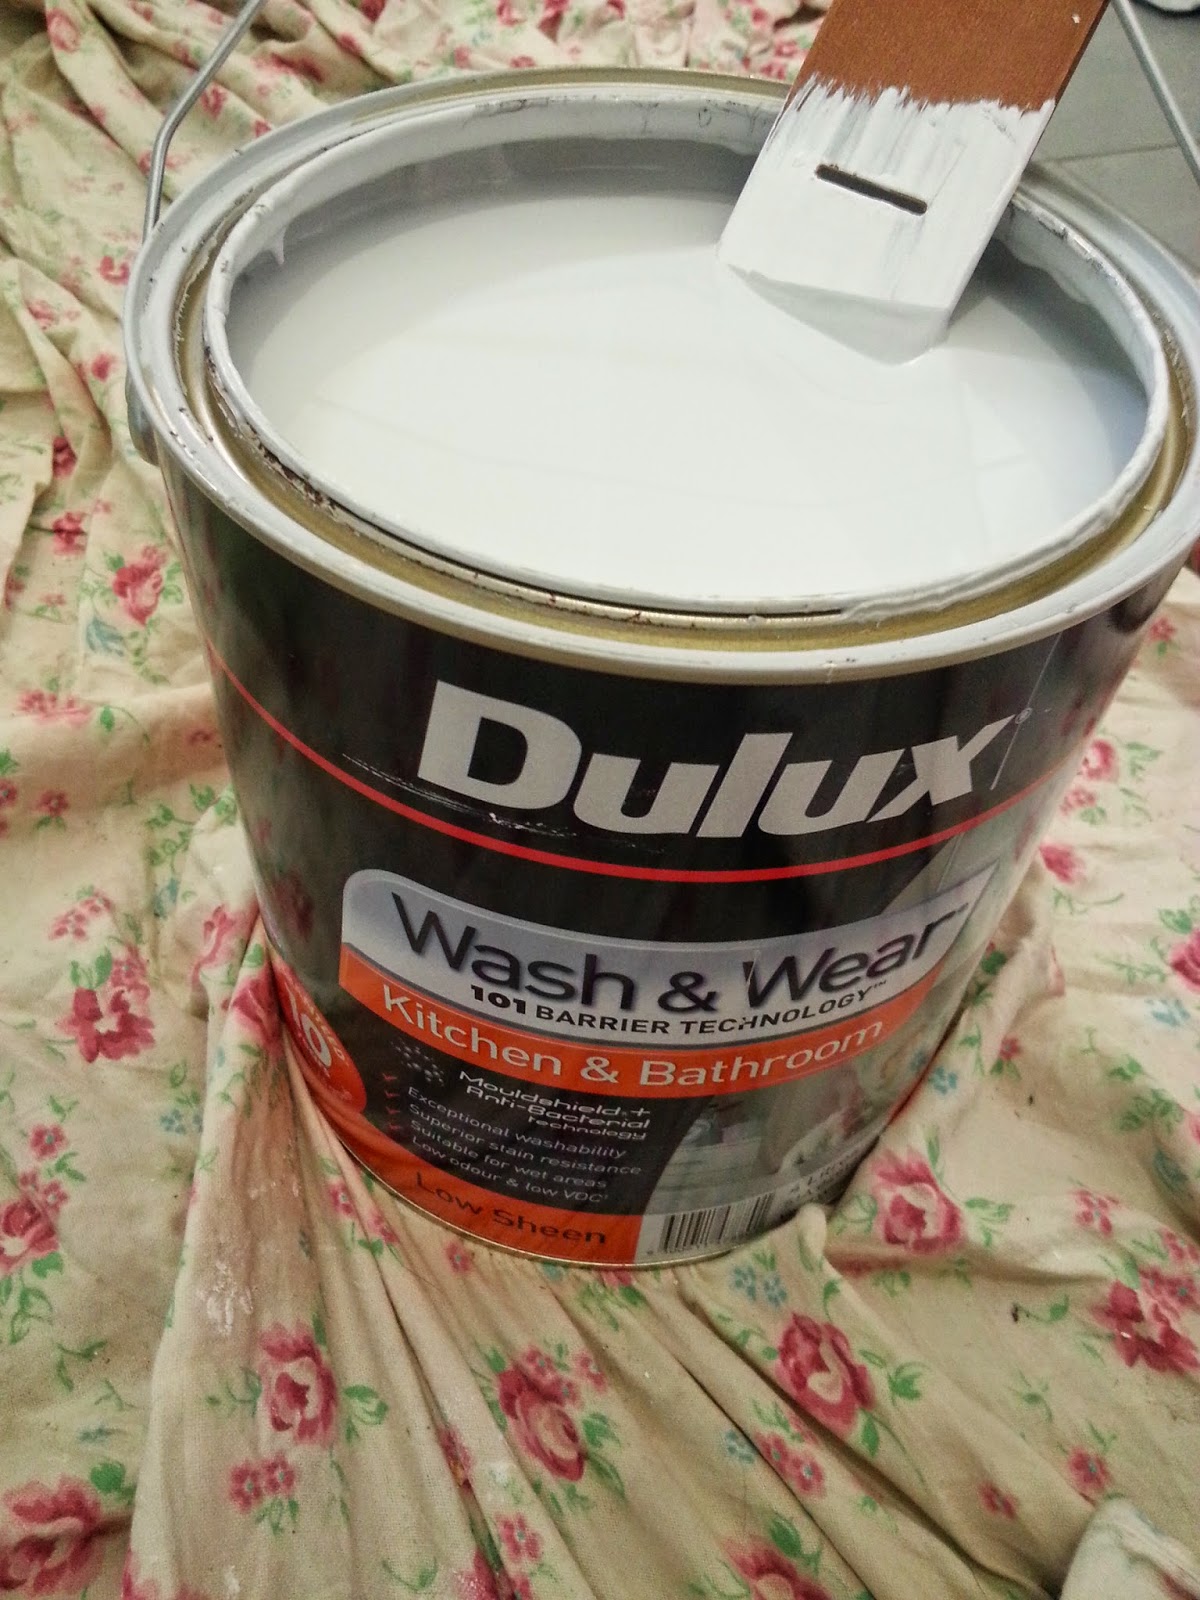
For the walls we used an undercoat paint first Dulux Prepcoat - Primer, Sealer and Undercoat because we had plastered the walls they were powdery and porous and this sealer binder helps the top coat of paint bond to the walls.
This paint is oil based and a bit smelly so we had to wear masks while using it, the smell lasted for about 48 hours which wasn't too bad. Dulux make both oil and water based paints but for an undercoat we find the oil based paint is better. For all top coats we use water based for easier clean up and the smell isn't as strong.
 |
| Dulux Prepcoat |
For the wall colour we used Dulux Wash and Wear Kitchen and Bathroom (Low Sheen) in Grey Pail which is a special paint for wet areas like the laundry which can get damp and gives 7 years mould protection.
As mentioned, we picked water based paint because it has a low odour and is so much easier to clean up the brushes and yourself when paint drips and flicks everywhere!
 |
| This is how Grey Pail looks during the day with lots of natural sunlight |
For the ceiling we used the Dulux Wash and Wear Kitchen and Bathroom Ceiling in Flat White which again is a special paint for wet areas with mould protection and comes in a flat white so it hides imperfections and gives good coverage.
We picked this in water base as well so it was easy to clean up. It's always a good idea to wear safety glasses when painting the ceiling so the paint doesn't flick in your eyes.
We picked this in water base as well so it was easy to clean up. It's always a good idea to wear safety glasses when painting the ceiling so the paint doesn't flick in your eyes.
 |
| Prepping the ceiling for painting |
Once our newly tiled floor was protected and the flat pack cabinets covered, we were ready to paint everything. This is my favourite part of the project because it means it's almost done and a new paint colour makes all the difference.
We started with the undercoat paint and applied it to any areas that we had plastered and sanded so that the top coat of paint would stick to it - this was pretty much all the walls so big areas we used a roller and smaller areas we used a paint brush.
We started with the undercoat paint and applied it to any areas that we had plastered and sanded so that the top coat of paint would stick to it - this was pretty much all the walls so big areas we used a roller and smaller areas we used a paint brush.
 |
| Mr P painting on the undercoat .... wearing a mask because it's a bit smelly! |
It was a few weeks until we were ready to paint again as we decided to do a DIY ceiling lift on our sagging ceiling using some metal plaster washers. We then had to plaster, sand, wash the ceiling and walls AGAIN and then we were ready to paint over the old yellowing ceiling and give it a new lease of life.
Usually 2 coats of paint would be enough but we ended up doing 3 coats for the ceiling paint because you could still see the plaster where we had put in the ceiling washers.
We waited for the tiler to come and finish off the splash back tile and kick tile as we didn't want him to make a mess of our lovely freshly painted walls with the grout and everything.
Once the tiling was completed we were ready to put some paint on the walls and let me tell you I was absolutely jumping around with anticipation to see how the new paint colour would look.
So that's our painting progress to date - we still have more painting to do in here the toilet ceiling and walls (as we decided to do a ceiling lift in this room as well just last weekend) and then we have all the door frames and new doors and window frames to paint.
I'll share the progress of the rest of the painting in another blog post once we've finished.
Usually 2 coats of paint would be enough but we ended up doing 3 coats for the ceiling paint because you could still see the plaster where we had put in the ceiling washers.
 |
| Then a roller made light work of the rest of the ceiling |
We waited for the tiler to come and finish off the splash back tile and kick tile as we didn't want him to make a mess of our lovely freshly painted walls with the grout and everything.
Once the tiling was completed we were ready to put some paint on the walls and let me tell you I was absolutely jumping around with anticipation to see how the new paint colour would look.
 |
| Mr P is the cutting in King while I'm the roller Queen |
 |
| Apart from the high parts that I can't reach! |
 |
| Laundry cupboard done |
 |
| Admiring our work and loving the new colour! |
I'll share the progress of the rest of the painting in another blog post once we've finished.
What do you think of the wall colour Grey Pail?
Sharing with link parties:
Sharing with link parties:
Disclosure: Thanks to Dulux for providing me with this paint for review. I have not received any payment or compensation. As always, all opinions are my own.

For exclusive extras and daily updates ... follow Jarrah Jungle on Facebook and Instagram
[All images my own]
Pin It Now!
That is a great shade of grey! And that photo of you looking at the mirror with the stick ons is hilarious! I have a couple of rooms and a door I want to paint... oh and a vanity and I need to get on it! Painting is something I can really procrastinate on... I don't enjoy it. I do enjoy it afterwards. I want to do our bedroom and the hall bath in a grey.
ReplyDeletePainting takes so much longer than what you think it will, but it definately makes a huge impact once done :)
DeleteHi Michelle, I love the gray you chose. I painted my living and dining room a pale gray several months ago and couldn't be happier with the results! Blessings, Cecilia
ReplyDeleteGrey is definately the ontrend colour right now! Thanks for stopping by Cecilia :)
Delete